“So, the angry she-elf jumped to the wrong conclusions and tore through here like a bronto with its tail on fire?” ―Oghren
The Righteous Path is a main quest in Dragon Age: Origins - Awakening.
Background
Merchant caravans are being attacked somewhere along the Pilgrim's Path. Mistress Woolsey states that it is the only reliable supply route between Amaranthine and Denerim. Investigate and stop the killings to restore trade.
Walkthrough
Amaranthine
After the conversation with Mistress Woolsey, head to Amaranthine and talk to Mervis, a representative of the Merchant's Guild to find out where the attacks are occurring. The quest journal will update, and Wending Wood's location will appear on the world map.
Wending Wood
The Wending Wood is inhabited by bandits, sylvans, darkspawn, spiders, and wolves.
When you enter the Wending Wood there will be a cinematic sequence showing some bandits rummaging through a wagon, who will spot you and run away. At this point you will be given the quest Trading Troubles if you did not pick it up from Mervis. On a crate nearby there is a note containing Codex entry: Orders to the Militia. As you explore the area there will be a wooden bridge. Crossing the bridge will trigger a cinematic where a scared bandit scavenger is running away from an elf, Velanna. She gives you a warning before disappearing. In an encampment with four shallow graves, there are weapons strewn about the place implicating the humans in the Dalish elves' demise.
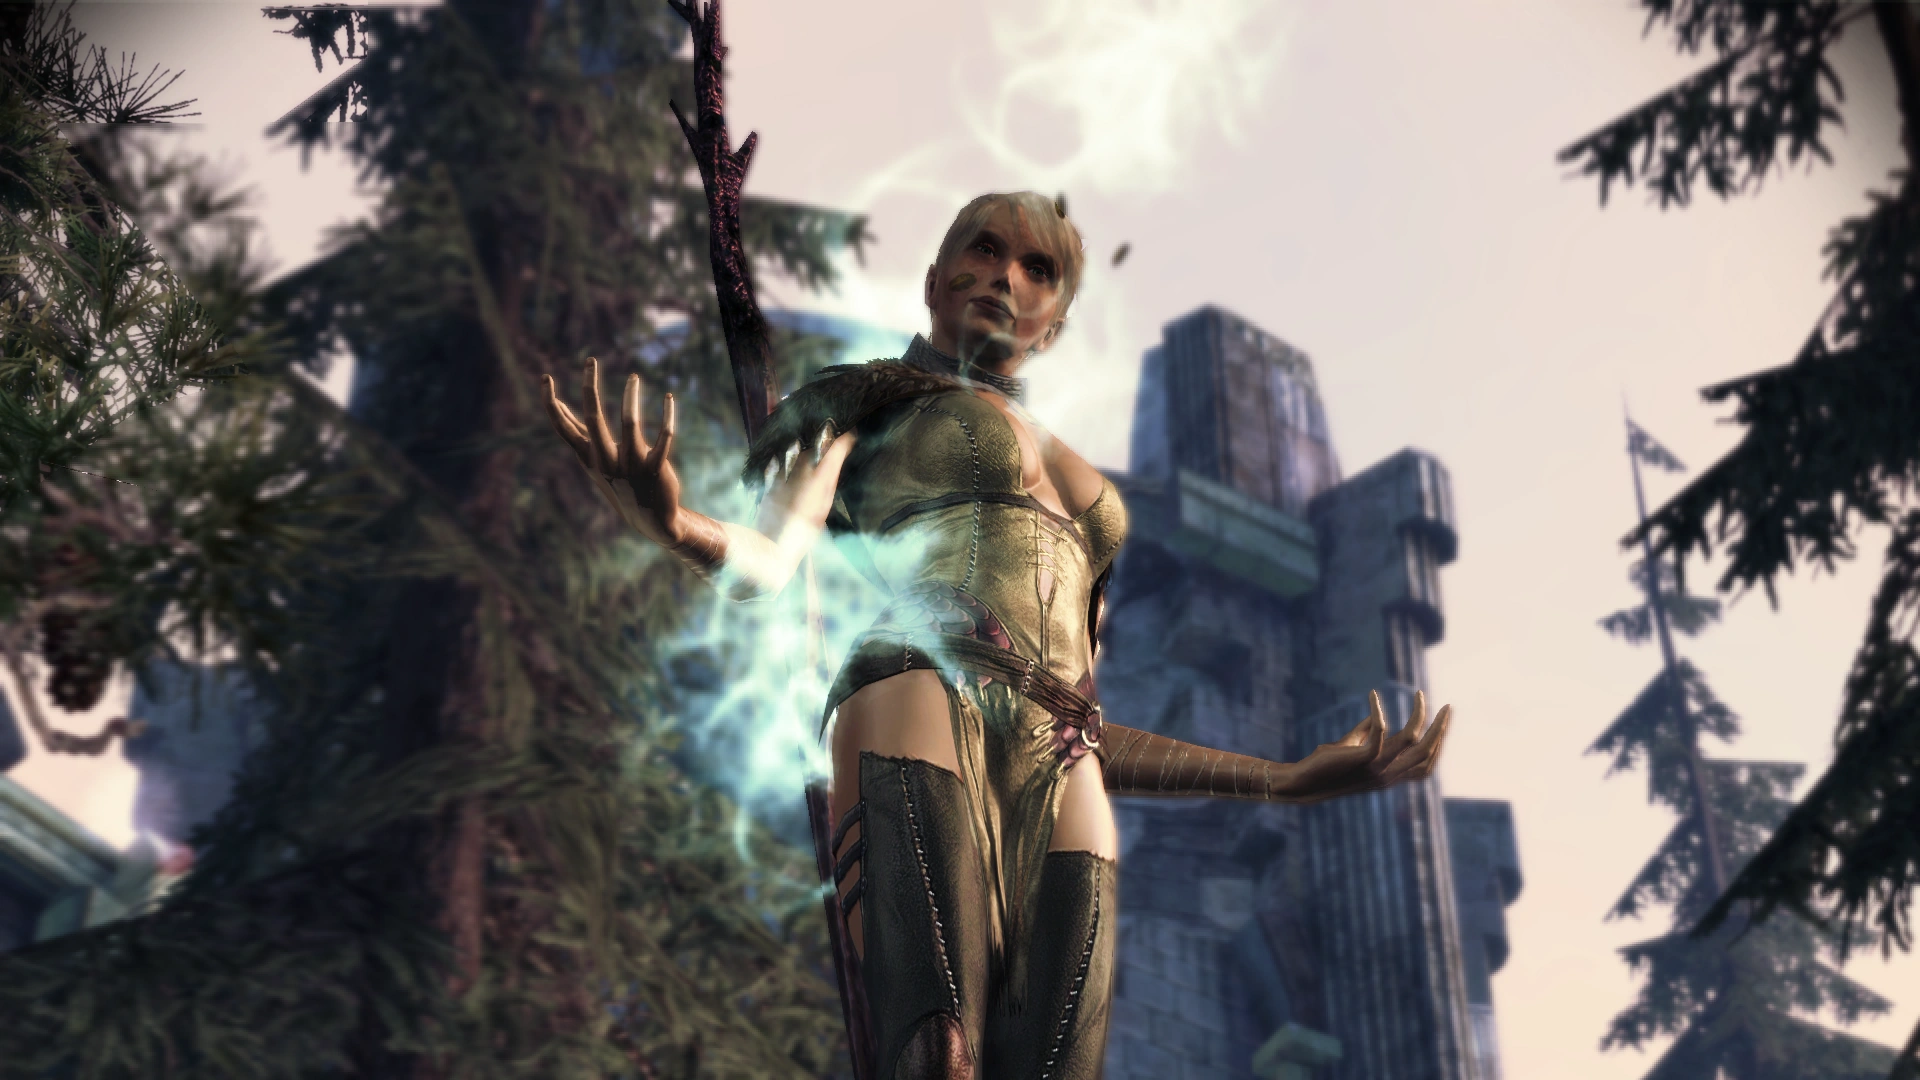
Velanna summoning sylvans
Further into the wood, you meet a dying militiaman who explains the situation about the angry elf. She had been burning all the caravans that pass through the wood, falsely believing that humans, and not darkspawn, were responsible for her sister's disappearance. As soon as you finish the conversation you will be attacked by darkspawn. Eventually you pursue her and will find her at the Dalish encampment. You can then either kill her for her crimes, let her go to find the darkspawn which captured her sister or convince her that you will aid her in the search for her sister. Upon recruiting her (Velanna), you can net up to ![]() (+10) from her, if Oghren is in the party you gain disapproval
(+10) from her, if Oghren is in the party you gain disapproval ![]() (-3).
(-3).
Other points of interest in the Wending Wood include:
- A granite deposit for the quest What is Built Endures
- Engraved Statues for the quest Maferath's Monuments
- Fine Silks for the quest The Merchant's Goods
- Ancient sylvans to gather Ancient Sylvanwood samples for the templars (From the Living Wood side quest)
- A dead scholar with the Codex entry: A Scholar's Journal, which leads to the Wending Wood stone puzzle
- A giant sylvan, The Old One, who drops Heartwood for the quest Heart of the Forest (near the stone puzzle)
- The Brothers of Stone
- Ines the Botanist
Silverite Mine

The Architect and Utha
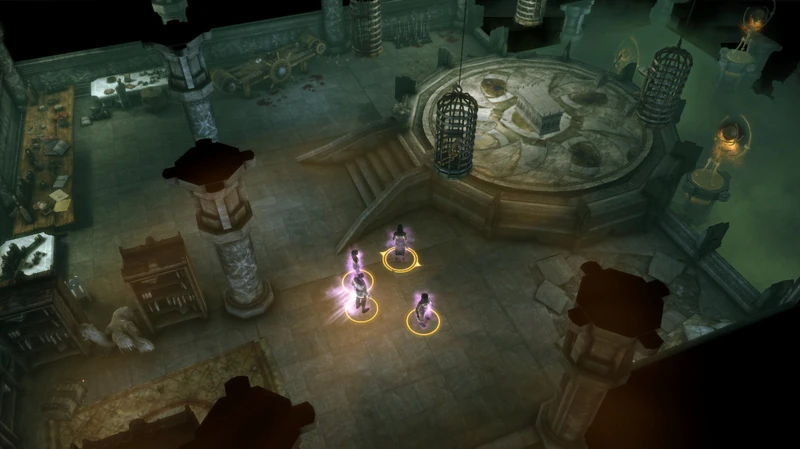
The Warden-Commander first encounters the Architect in the Wending Wood's Silverite Mine. After conversing with Velanna, the entrance to the Silverite Mine will become unlocked.
Immediately on the stairs there is a Codex entry: A Miner's Letter. When the Warden steps onto the centre of the big circle on the floor, a cutscene will trigger in which the Architect will make an appearance, and puts the party to sleep. The Warden-Commander stirs long enough to hear the Architect apologize for what it is about to do, and then the Warden-Commander falls unconscious again. Shortly afterwards, the party will wake up in a jail cell without any equipment (all your equipment, potions and the rest of your inventory should be gone now; if some items are still present, something is wrong--see Bugs section below). Velanna's sister, Seranni, will open the cell door and may give you the key to the Architect's chests in his room if a successful persuasion attempt is made (Master Coercion skill is required). Also, no matter what conversation thread you choose, you will get ![]() (+2) from Velanna after talking to her sister.
(+2) from Velanna after talking to her sister.
The Architect's Laboratory
As the party leaves the cell, 3 darkspawn appear from the Architect's Lab, one of whom holds the Holding Cell Key. Despite having no equipment or weapons, your party can still overwhelm these darkspawn. Heading into the Architect's Lab will yield: Codex entry: The Architect's Journal, Codex entry: The Architect's Notes, Phylacteries: A History Written in Blood, and also a small puzzle with two control levers that are used to clear the gas from the chest below. The puzzle is simple: pull the left lever once, then pull the right lever, then pull the left lever, then the right lever one last time. This clears the magical ward from the cell door paving the way to the chest containing Dragonspite and the Blackblade Tunic.
The exit is in the opposite direction of the Architect's Lab. As the party exits through the double doors, the next room contains a statue in the center and a Ballista on the left. Using the ballista will topple the statue on top of most of the darkspawn below.
Through the next set of double doors (where the darkspawn army busts through), on the right hand side is a Secret Door where the Blackblade Helm is located (the door looks like a bricked up wall arch). The next room contains the first Experimental subject who will be wearing one of the party's gear. Kill the subject and the dragonling reinforcements to reclaim the gear. At the exit of this room, pick up Shiny Malachite in a pile of stones.

Keenan lying on the floor
In the next room on the right there is a dying Warden, Keenan, who grants the quest Last Wishes. He will remember the Warden-Commander if they are Orlesian. If Velanna and/or Nathaniel are in your party, you have a chance to earn/lose approval, depending on what you say to Keenan. See Last Wishes for further details.
Further through the mine there will be another room with a large amount of darkspawn and another Experimental Subject wearing a party member's gear (provided that you have companions with you). In this room you also find the Spyglass on a soldier's corpse.
Further down the mine, amongst some darkspawn and dragonlings are the last two Experimental Subjects (due to a bug, there may only be one. See Bugs section below). There will also be a Silverite Ore deposit for the quest Elemental Requirements. Straight ahead and to the left is the Hurlock Dragon-Tamer with the Leg-Crusher maul who maimed Keenan, and also the Fresh Dragon Egg for the quest Worked to the Bone.
Heading back out the way you came; there is a lyrium deposit with more Lyrium Sand for the quest Bombs Away! Continuing further into the mine, the next encounter is with a Genlock necromancer who will summon some animated deads, another drake, and a large group of darkspawn. Nearby is the Architect's room with a chest that Seranni's key will fit into. This chest contains Ring of Discipline. The desk contains a letter: Codex entry: A Letter from the Architect.
In the next room through the double doors are some stairs with a Qunari outcast (Tal-Vashoth), Armaas, at the top. He is a merchant who can be recruited for the quest Trade Must Flow. Since you cannot re-enter the Silverite Mine once this main quest is complete, it is best to recruit him now. Armaas can also act as a temporary merchant in the Silverite Mine. Furthermore, he can also be persuaded to give you a discount on whatever you need to trade (the persuasion requires no Coercion skills). There is a chest next to Armaas which should have the rest of the party's gear such as potions, injury kits, etc. Remember, you can sell your excess items to Armaas should you have too much after getting your stuff back.

One of The Architect's Dragon Thralls
Heading through the next two sets of double doors will lead to the final battle of the Silverite Mine. As you enter, two Dragon thralls will confront you. For this fight, it is a good idea to focus on the dragon that can use Frightening Appearance first, since there is no protection available to player characters against this ability, and it is hard to resist. During the fight, the two dragons will fly away from time to time when their health reaches certain points, ending combat mode. This leads to a number of sustained abilities being deactivated automatically as the game briefly returns to exploration mode, which may be an inconvenience. These abilities are Feign Death, Blood Magic, Captivating Song, Aura of Pain, and Berserk.
After defeating the dragons, the Architect will escape the mine along with Utha and Seranni, while blocking the path behind him. Velanna will also ask to join the Grey Wardens and should you choose to allow her, you will get the quest Velanna's Joining.
Go back to Mervis in Amaranthine to complete the subquest Trading Troubles.
Result
- The Righteous Path is concluded.
- Trade continues through the Wending Wood.
- Velanna may be inducted into the Grey Wardens.
- The Architect is revealed.
- Armaas may be recruited to trade at the keep.
- Justice disapproves
 (-10) of Velanna escaping justice by joining the Grey Wardens.
 - Oghren disapproves (-3) when you first recruit Velanna (before you go into the mine)
- Anders approves
 (+2) when you allow Velanna to become a Grey Warden
 - Sigrun approves (+3) when you allow Velanna to become a Grey Warden
Rewards
- 750 XP - upon meeting Velanna at the bridge
- 750 XP - for finding the Abandoned Dalish Camp
- 750 XP - after talking with the Militia Survivor
- 1500 XP - upon dealing with Velanna (leave, join, or die) at the Abandoned Dalish Camp
- 3500 XP - after defeating the dragon thralls
Other concurrent quests
There are also a few other quests here that can be started, continued or completed at the same time.
- Trading Troubles
- The Merchant's Goods
- Maferath's Monuments
- From the Living Wood
- What is Built Endures
- Brothers of Stone
- Heart of the Forest
- Ines the Botanist
- Last Wishes
- Elemental Requirements
- Bombs Away!
- Worked to the Bone
- Trade Must Flow
- Velanna's Joining
Notable items
 Ash - source: darkspawn corpse.
 Blackblade Helm - chest in secret room.
 Blackblade Tunic - inside an unlocked chest which can be found at the Architect's Lab gas pit.
- Blackblade armor set (see bugs below)
 Dragonspite - inside an unlocked chest which can be found at the Architect's Lab gas pit.
 Illumination - source: Mystic Chest.
 Landsmeet Shield - looted from the Dragon Thralls.
 Leg-Crusher - Looted from the Hurlock Dragon-Tamer.
- Ring of Discipline - found in a locked chest in the Architect's room which unlocks only with the Architect's Key.
 Shock Treatment - looted from the Dragon Thralls.
- The Slippery Ferret's Gloves - looted from the Dragon Thralls.
 The Winter Blade - from Statue of War.
 Ancient Sylvanwood (5) - source: ancient sylvans.
 Fine Silks (9) - source: barrels, bundles of cloth, and crates.
 Fresh Dragon Egg - found in the dragonling breeding room.
 Heartwood - source: The Old One.
 Keenan's Wedding Ring - source: Hurlock Dragon-Tamer.
 Lyrium Sand - found in a corner in the opposite direction of the dragonling breeding room.
 Silverite Ore - found in the room before the Darkspawn Necromancer encounter.
Companion gifts
 Bronze Sextant - source: corpse.
 Elven Prayer for the Dead - in abandoned Dalish camp.
 Elven Trinket - source: Hurlock emissary.
 Phylacteries: A History Written in Blood - Architect's Lab.
 Shiny Malachite - source: stones.
 Spyglass - source: soldier's corpse.
Trivia
- Velanna will have unique dialogue with the Dalish Warden-Commander.
Bugs
- Some conditions may cause the main character's equipment to vanish completely after being captured by the Architect in the Silverite Mine. This could happen if the Experimental subject, who would have been wearing your equipment, does not satisfy the requirements to wear your gear. You will know if the bug has occurred because the Warden will wake up in prison naked while the rest of the party will be in commoner clothing and your non-equipped inventory will still be present. Another sign is if, even if the Warden is clothed at the start, the Velanna version of the Experimental subject in the room with the dragonlings does not have her equipment. The only possible fix is to reload to a previous savegame and remove all your wearable gear before the Architect puts you to sleep. Your gear will be waiting in the chest beside Armaas.
- In particular, if a character is an Arcane Warrior using the passive ability of Combat Magic to wear gear, the Experimental subject may not be able to. The Experimental subject appears to be automatically leveled and need not have the same exact spells as the player. In this case, simply removing the gear that requires Combat Magic should avoid the bug.
- If the bug occurs, there will be only one Experimental Subject in the room with the silverite deposit, as the one that should have been wearing the Warden's armor will not appear.
- Accessories (belts, amulets, and rings) with class and character restrictions, imported items from the Return to Ostagar, Witch Hunt and Golems of Amgarrak DLCs, and the staff Spellfury can also trigger the bug.
- If Velanna is recruited and not in the party during the Silverite Mine quest, a number of anomalies can occur. It is recommended that she be present during this part of the quest.
- There is a bug with spawning the Blackblade Armor pieces. The gloves and boots may not appear in the mine as intended (to fix this issue on the PC, use this mod).
- There is a bug that causes the cell door not to open after the cutscene with Seranni.[confirmation needed]
- A possible fix is to enable the console and use the command: "runscript zz_trp_debug". Select "Jump to a location", "More" and finally "Architect's Lab". This will move the party to a location that is very close to and outside the cell door.
- After the battle with the dragon thralls it is possible to initiate dialog with the Architect. This will result in restarting the cutscene where you arrive in the mine and losing your gear again without any way to get it back.
- There is a chance that after entering the mine all unequipped items will remain. There is no negative effect to this.
- If you have Morrigan's Ring equipped before the first encounter with the Architect, the ring will sometimes not be on the Experimental Subject that has the rest of your gear but in the 'loot' chest along with your miscellaneous items.
- If the party is too close to the near side of the canyon, before having crossed the bridge and before having met Velanna the first time, they may initiate the dying soldier cutscene in the Wending Wood. This causes a few subsidiary bugs:[confirmation needed]
- The cutscene teleports the party to the other side of the chasm.
- The Warden can ask about Velanna's sister even though they have not met her yet.
- Velanna is moved to the wrong location (west of her camp, where the party should find her the second time) and is unable to talk.
- After crossing the bridge (in the wrong direction), the cutscene occurs twice in a row and Velanna disappears.
- The only known workaround is to reload a save from before the dying soldier cutscene.